


Process
Designing these signets took years of iterating to test wear different forms and create our ideal shapes.
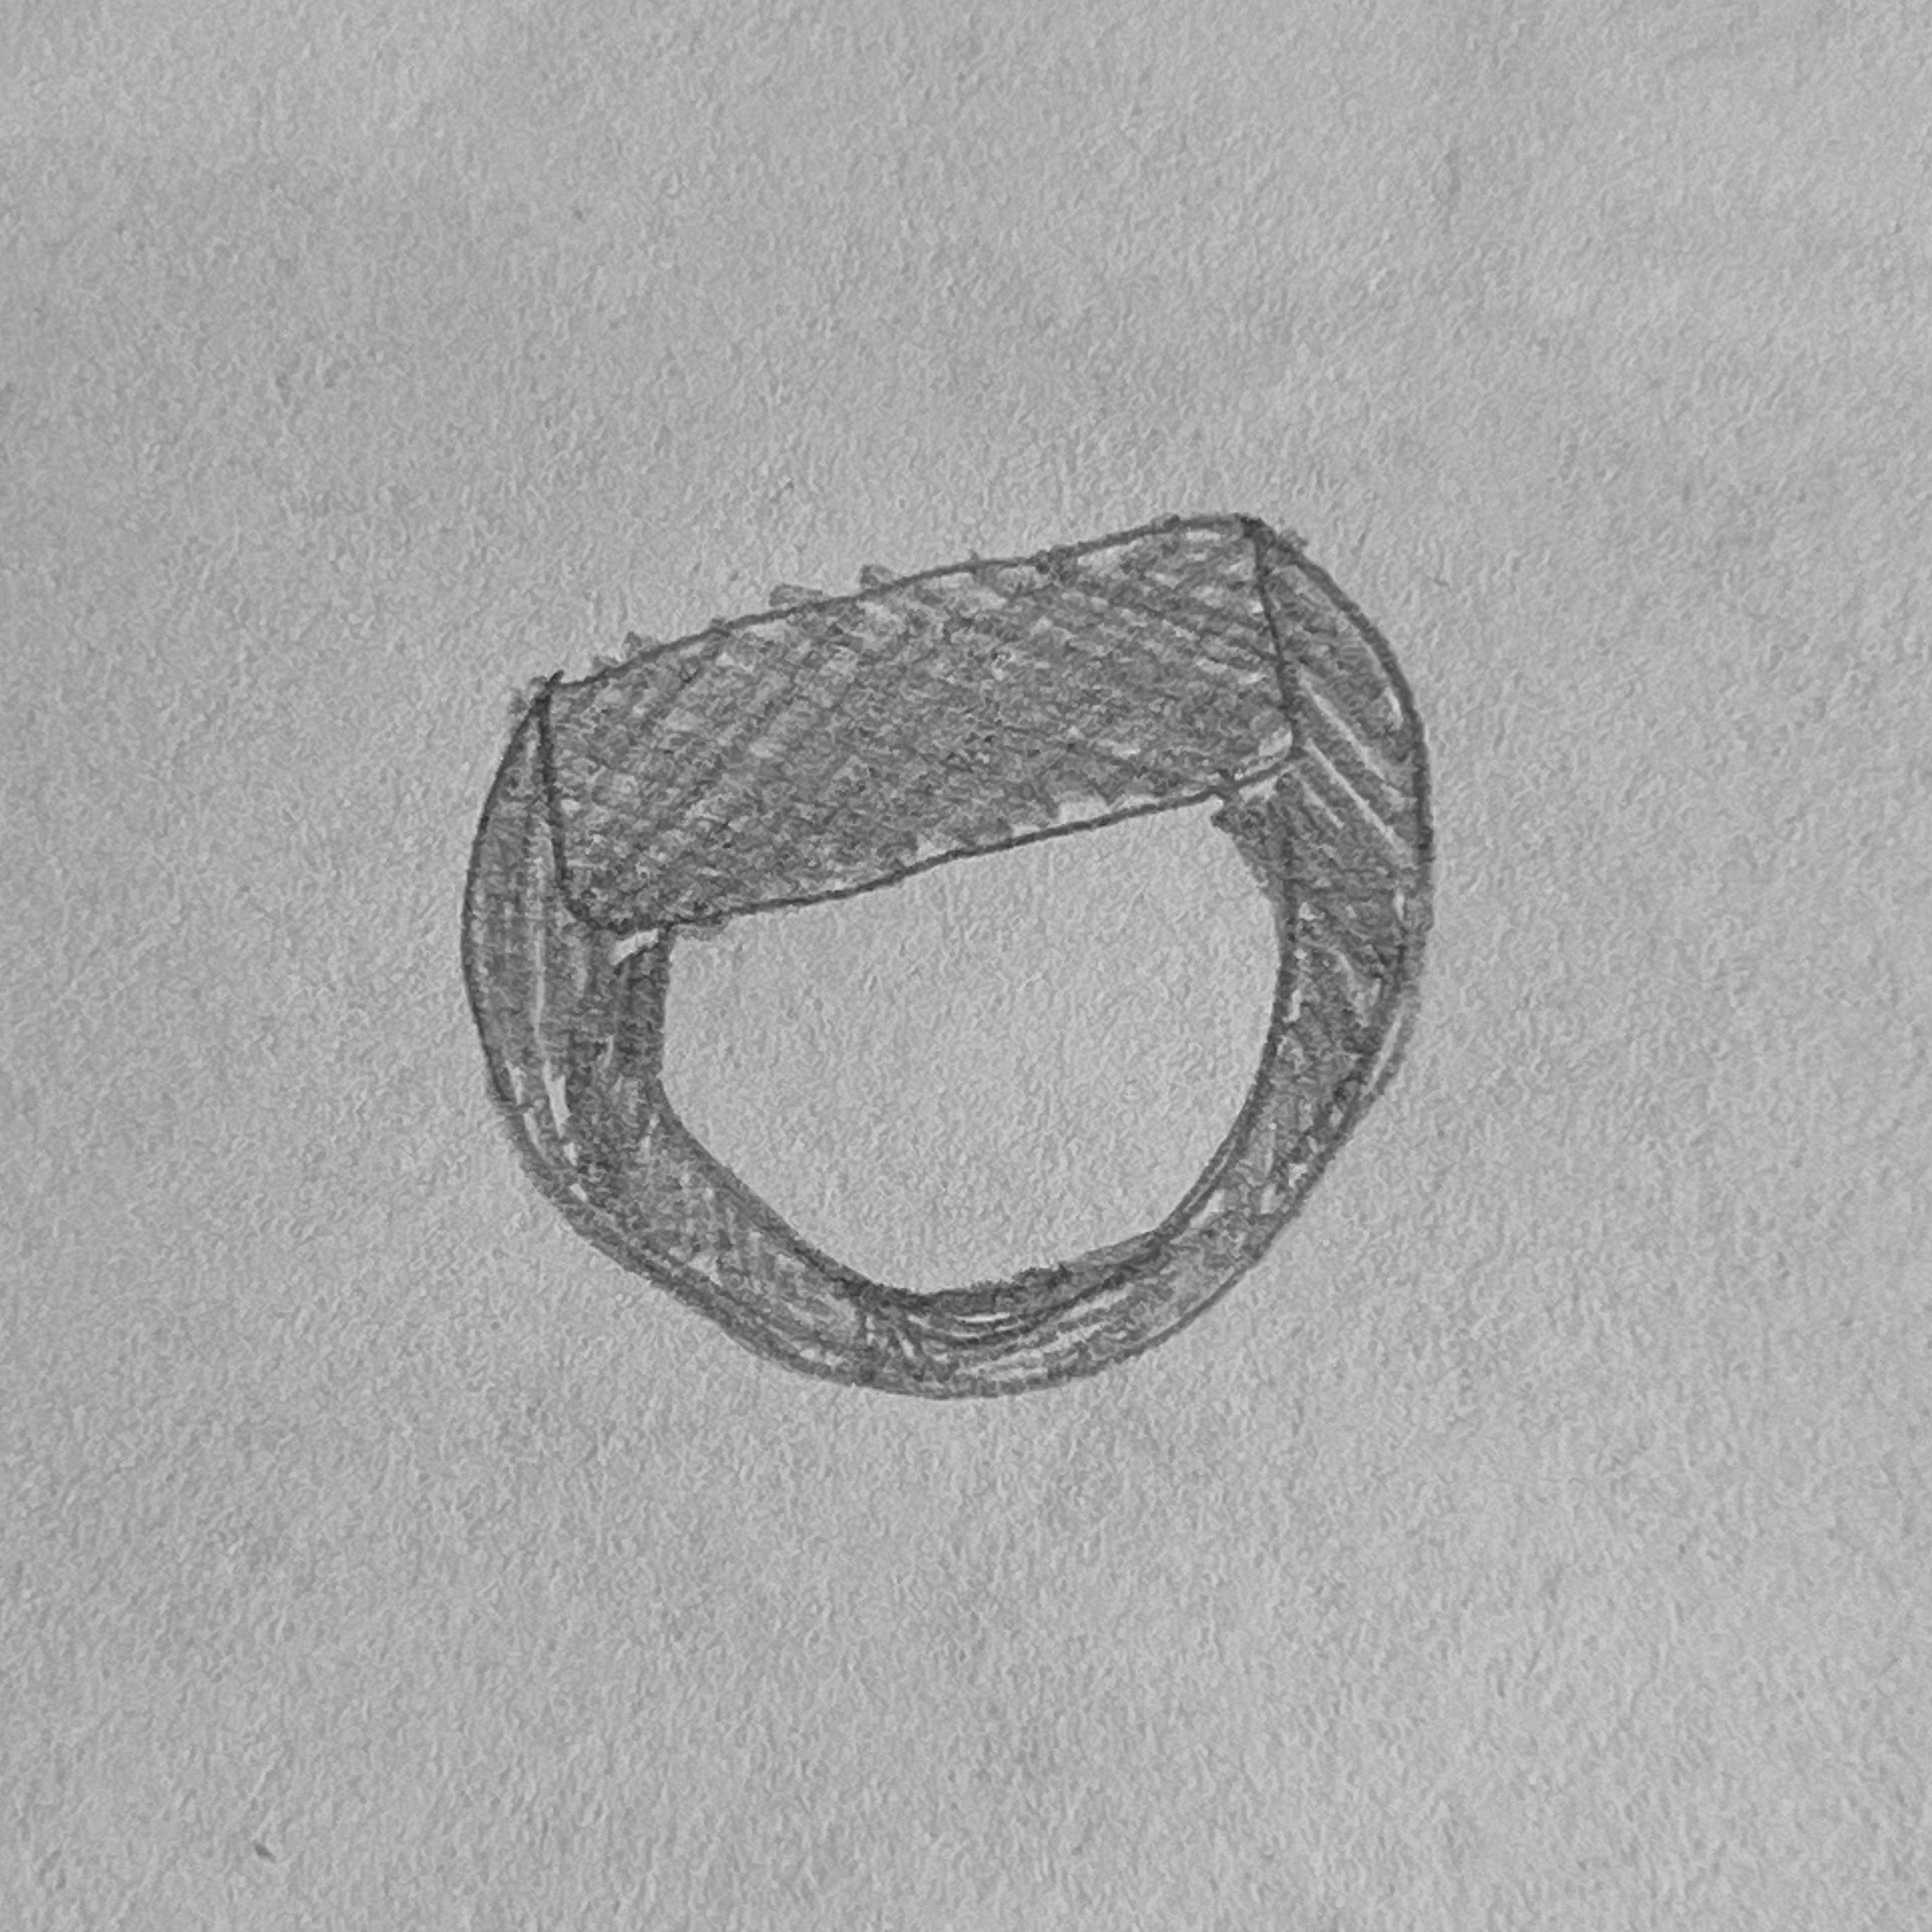
Step 1: Ideate
Roughly draw out each signet ring with a pencil to get a sense of the shape and scale.
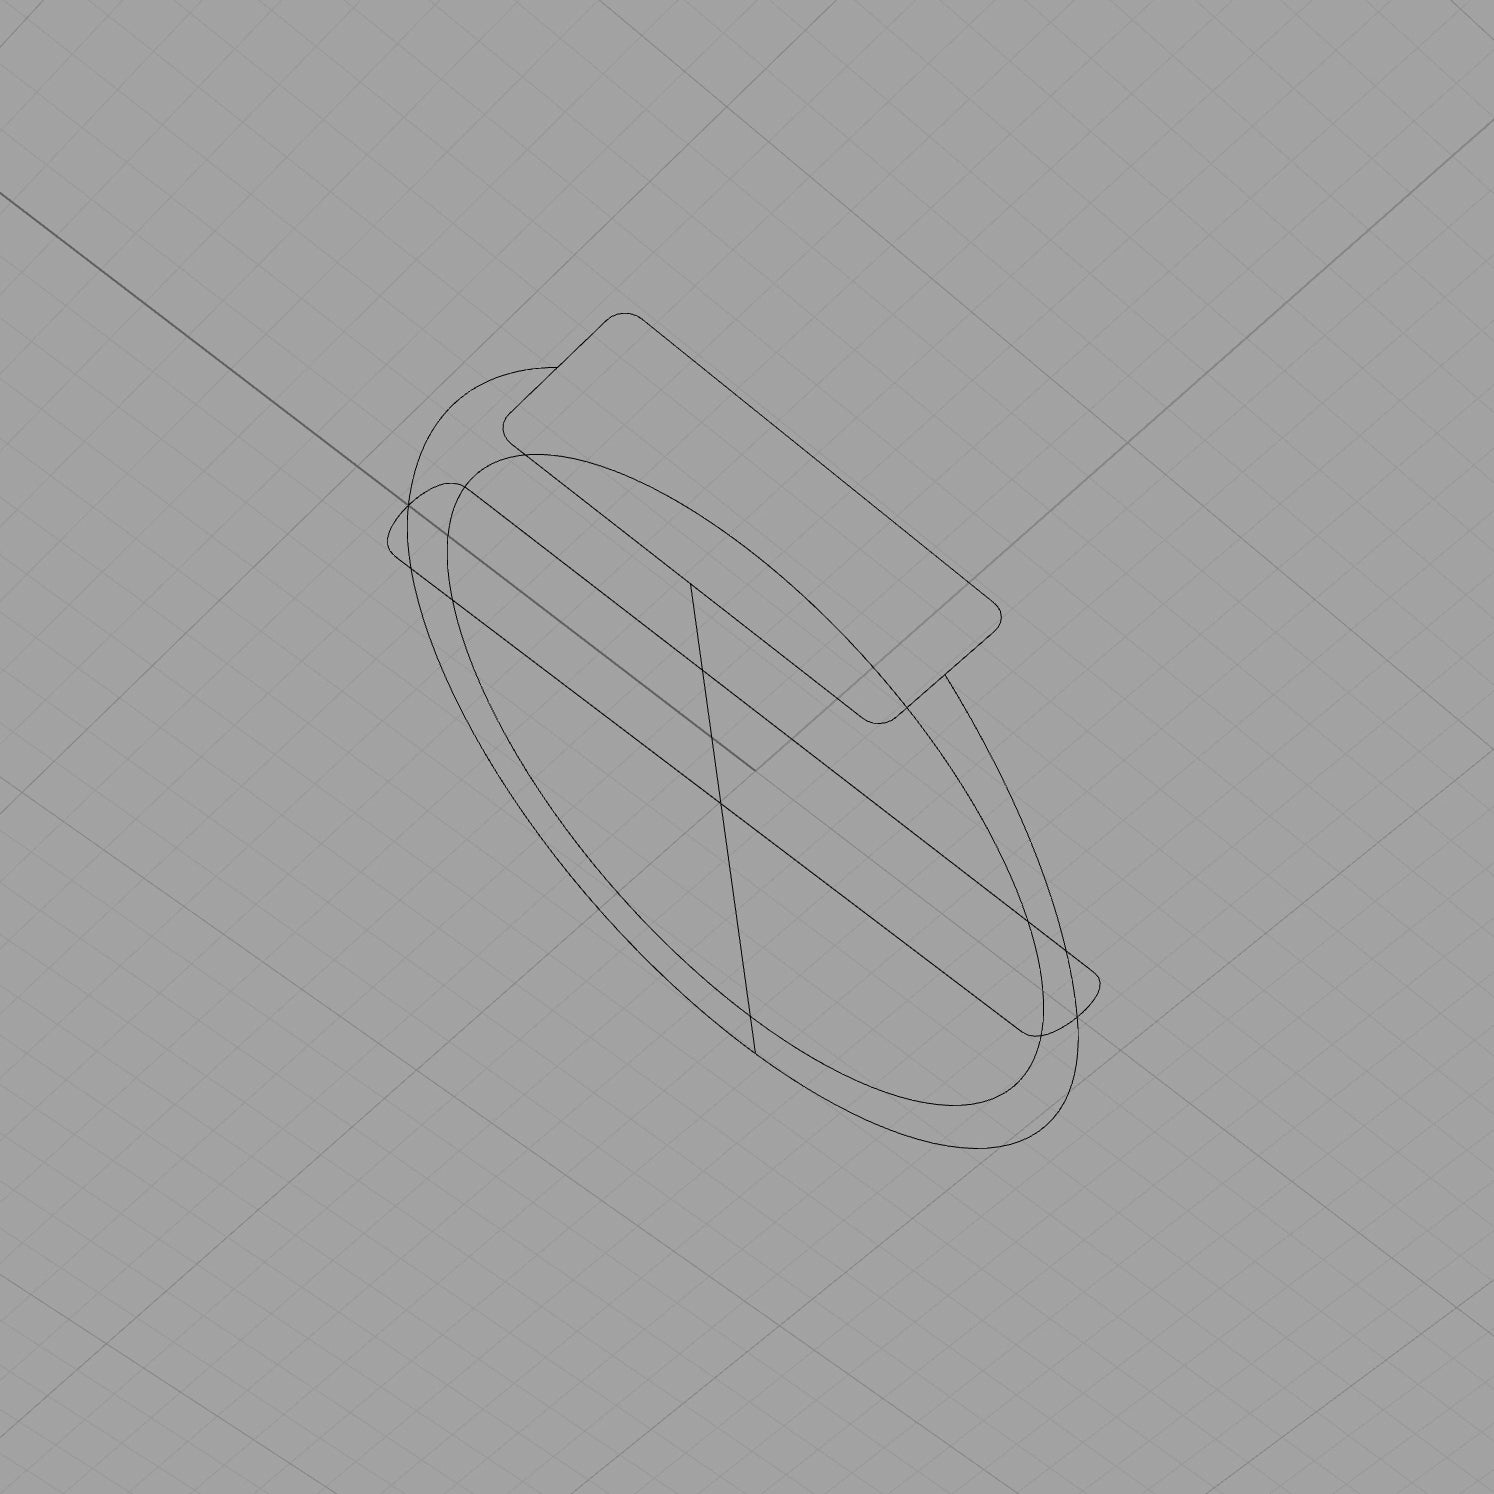
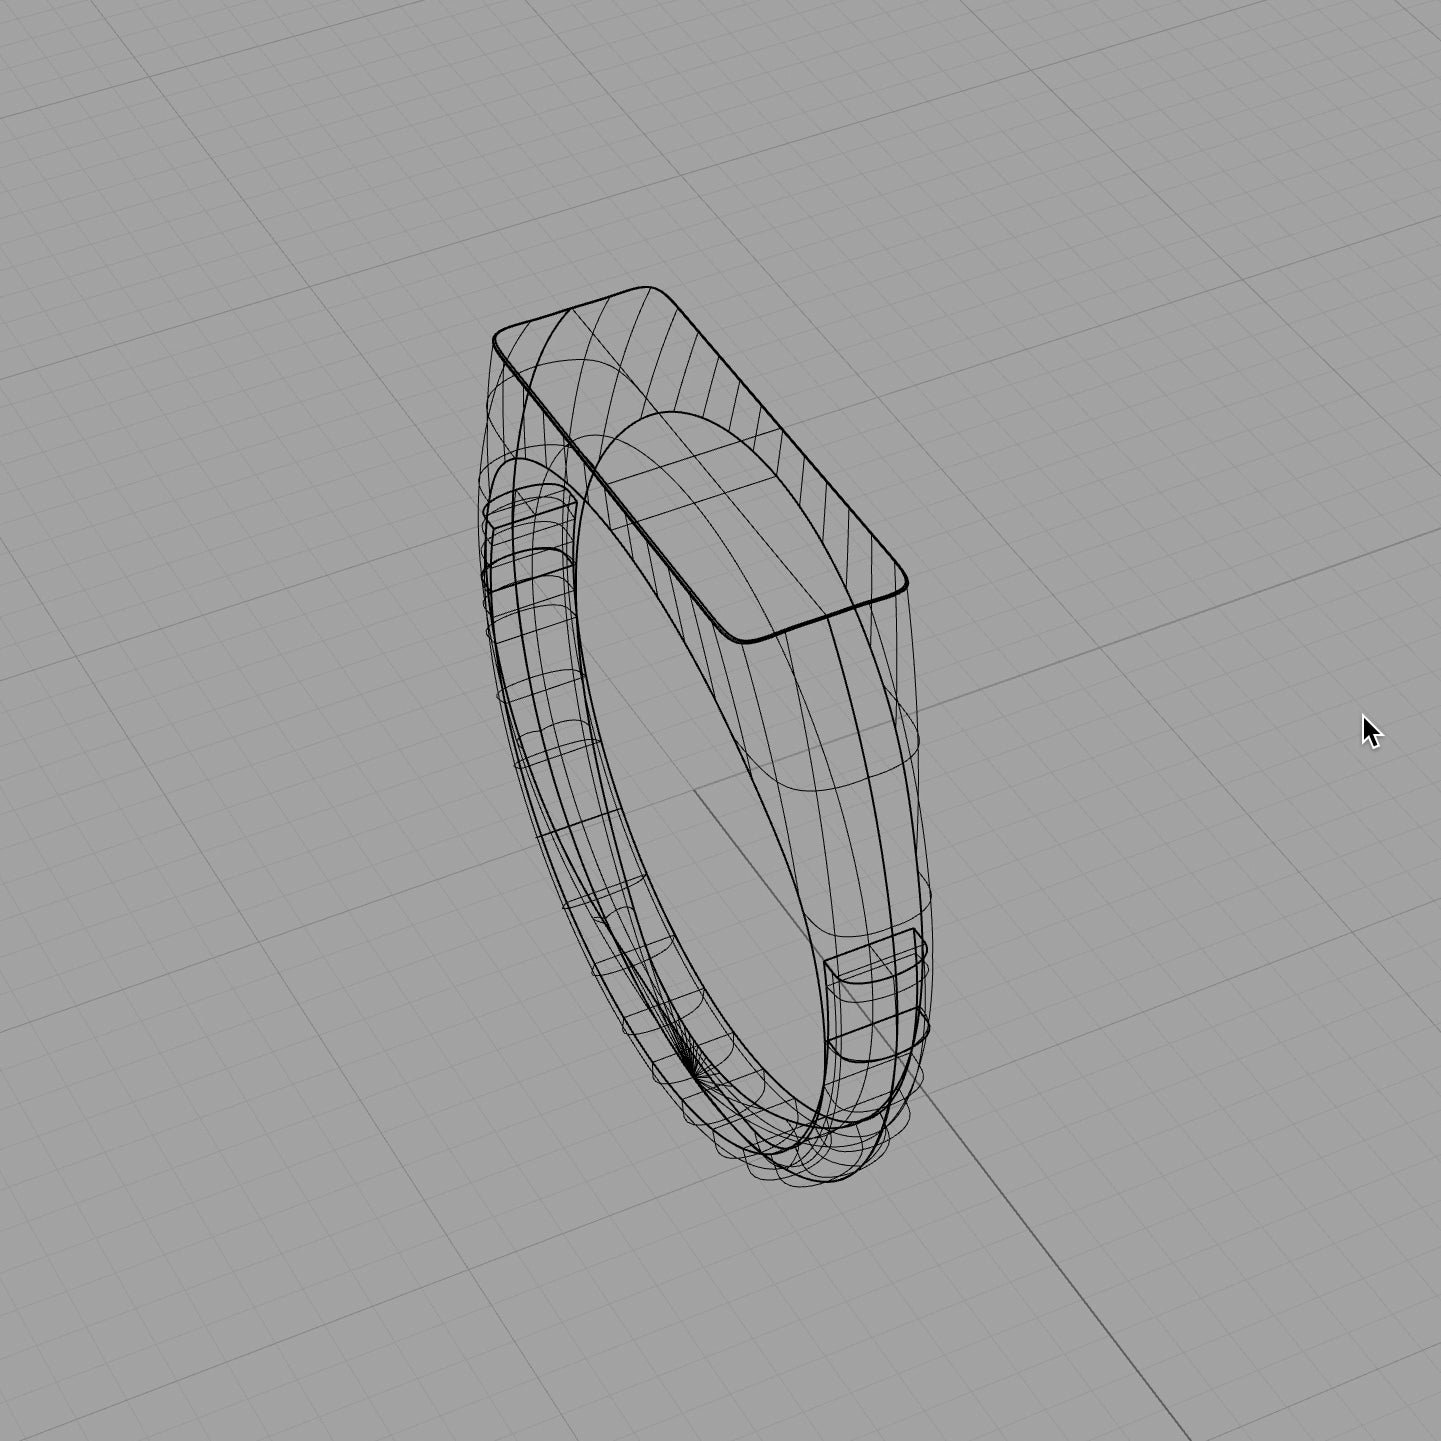
Step 2: Design
Draw curves and shapes to create a 3D design in the modeling software, Rhino.
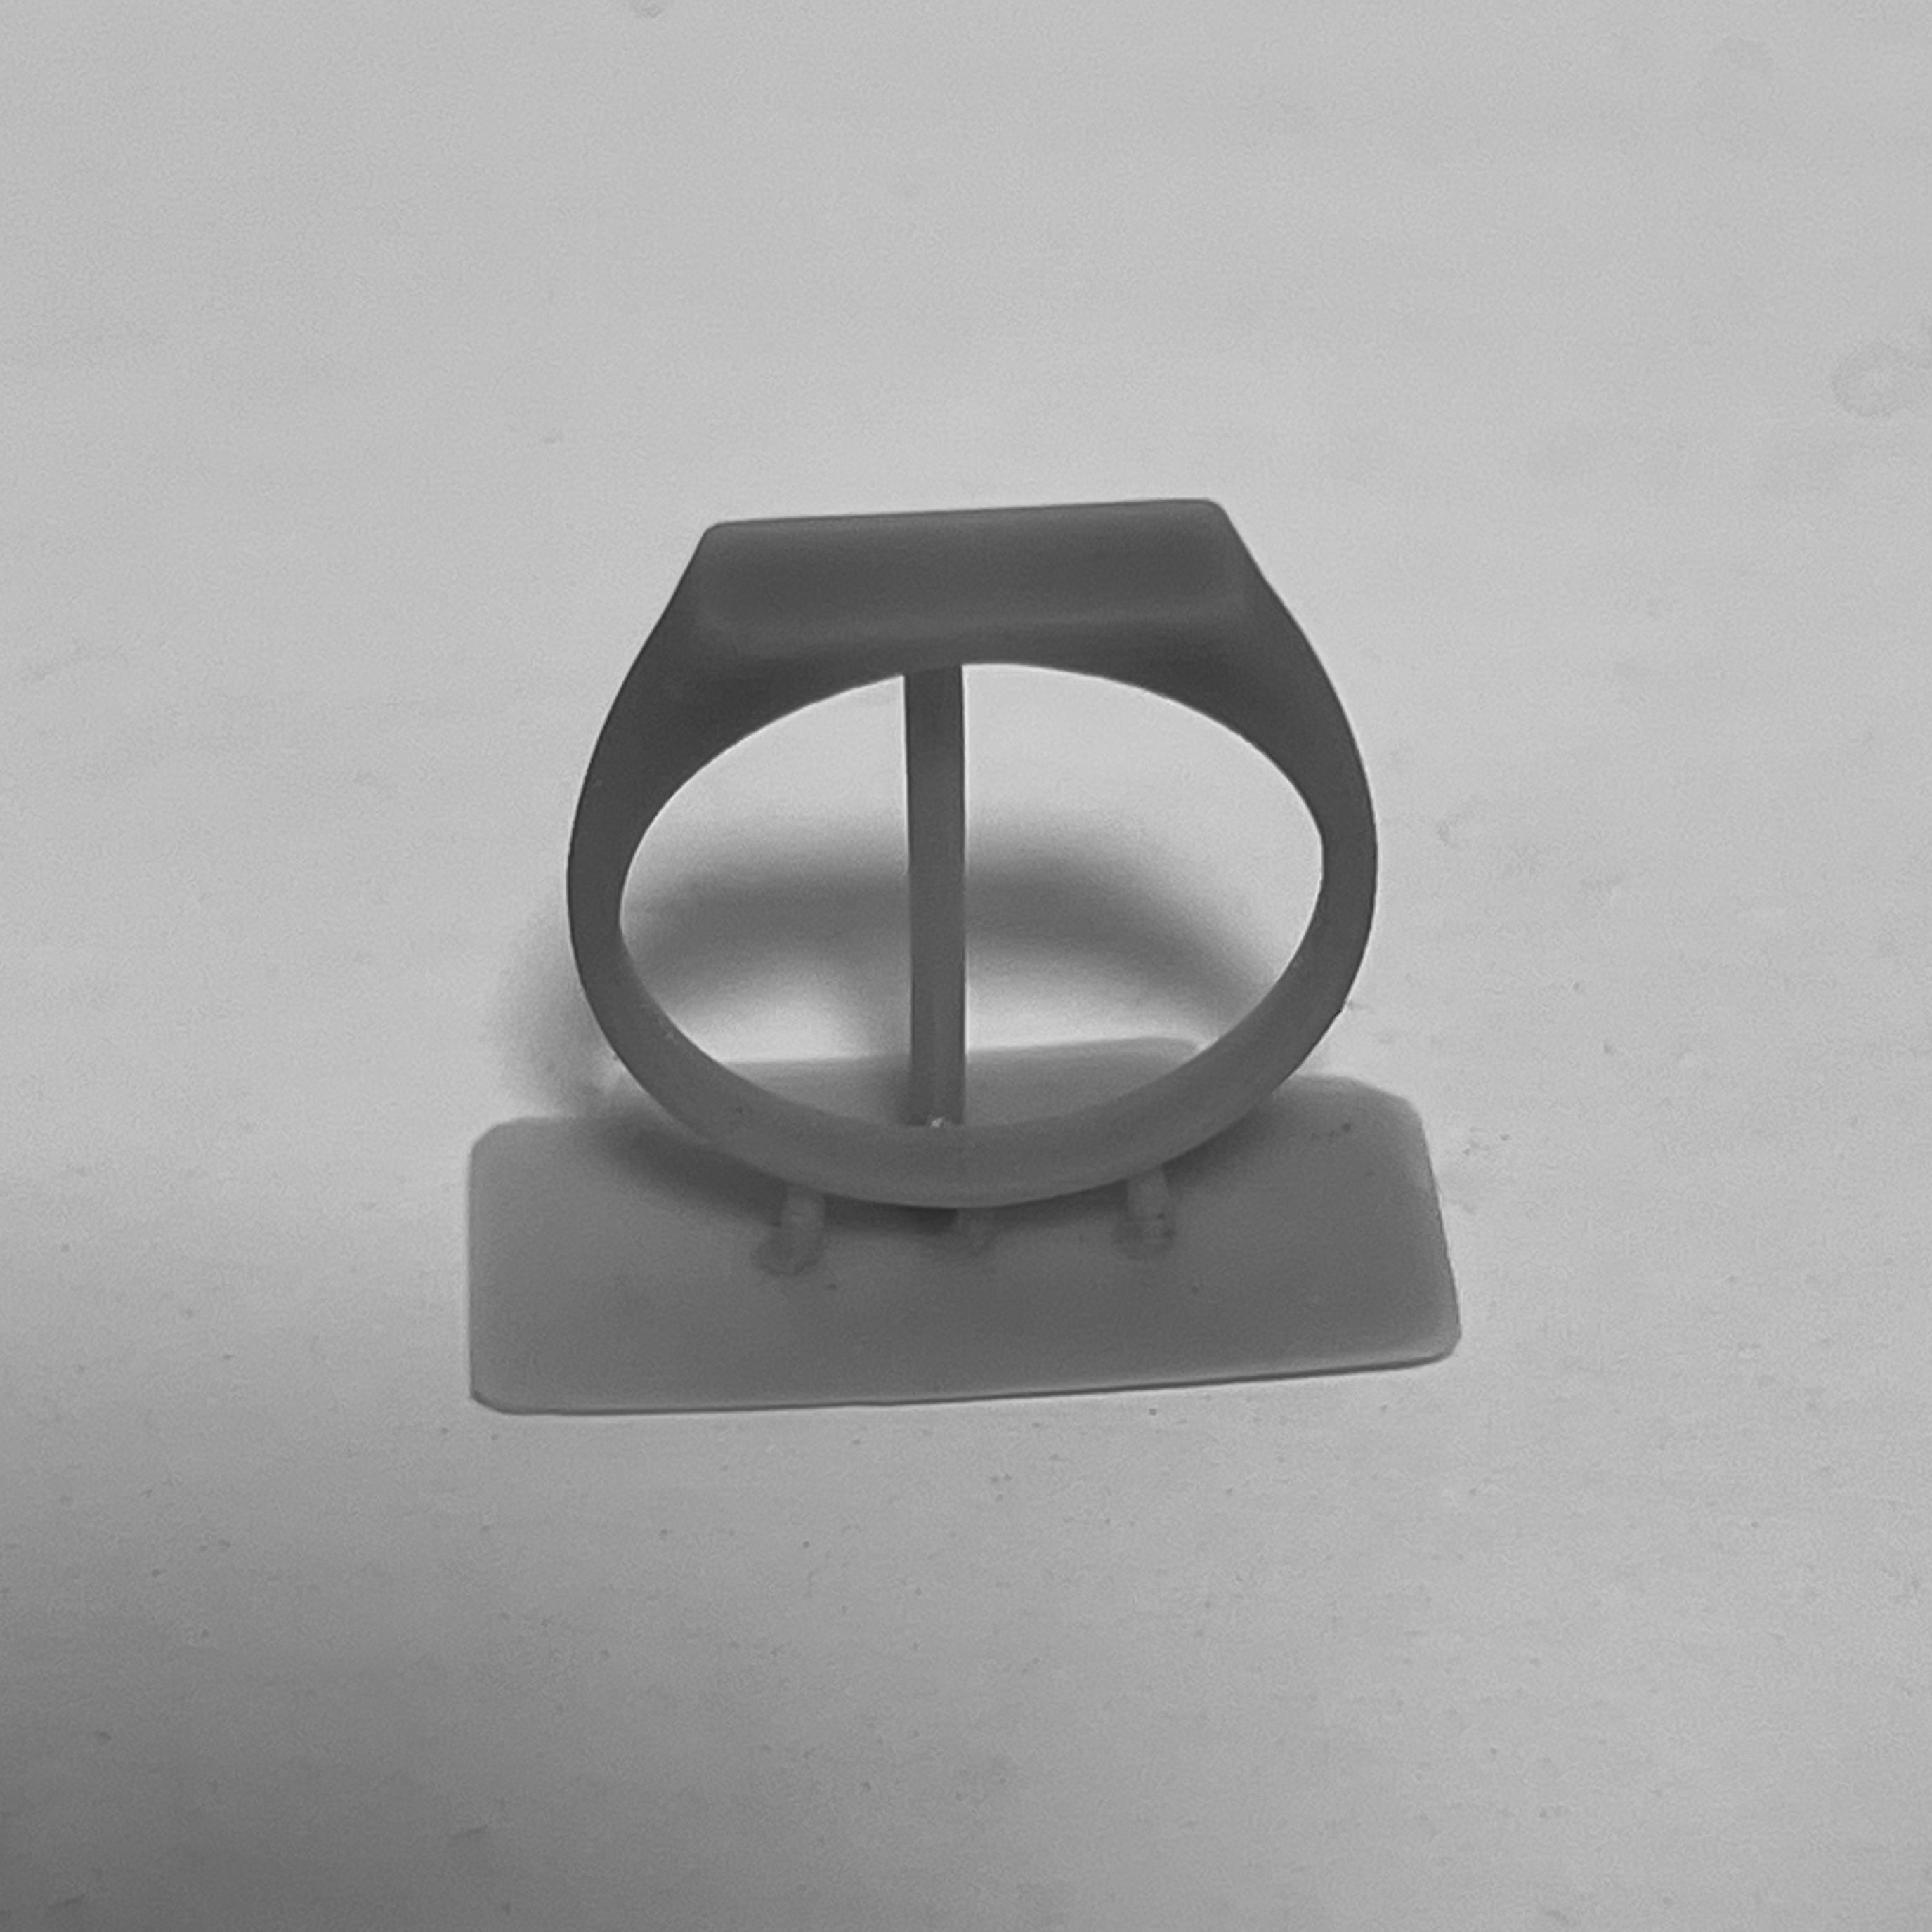
Step 3: Print
Print the prototypes using an at-home resin 3D printer to test size and shape.
Step 4: Iteration
Tweak the design until the ideal shape is created. Repeat steps 3 & 4 as desired.
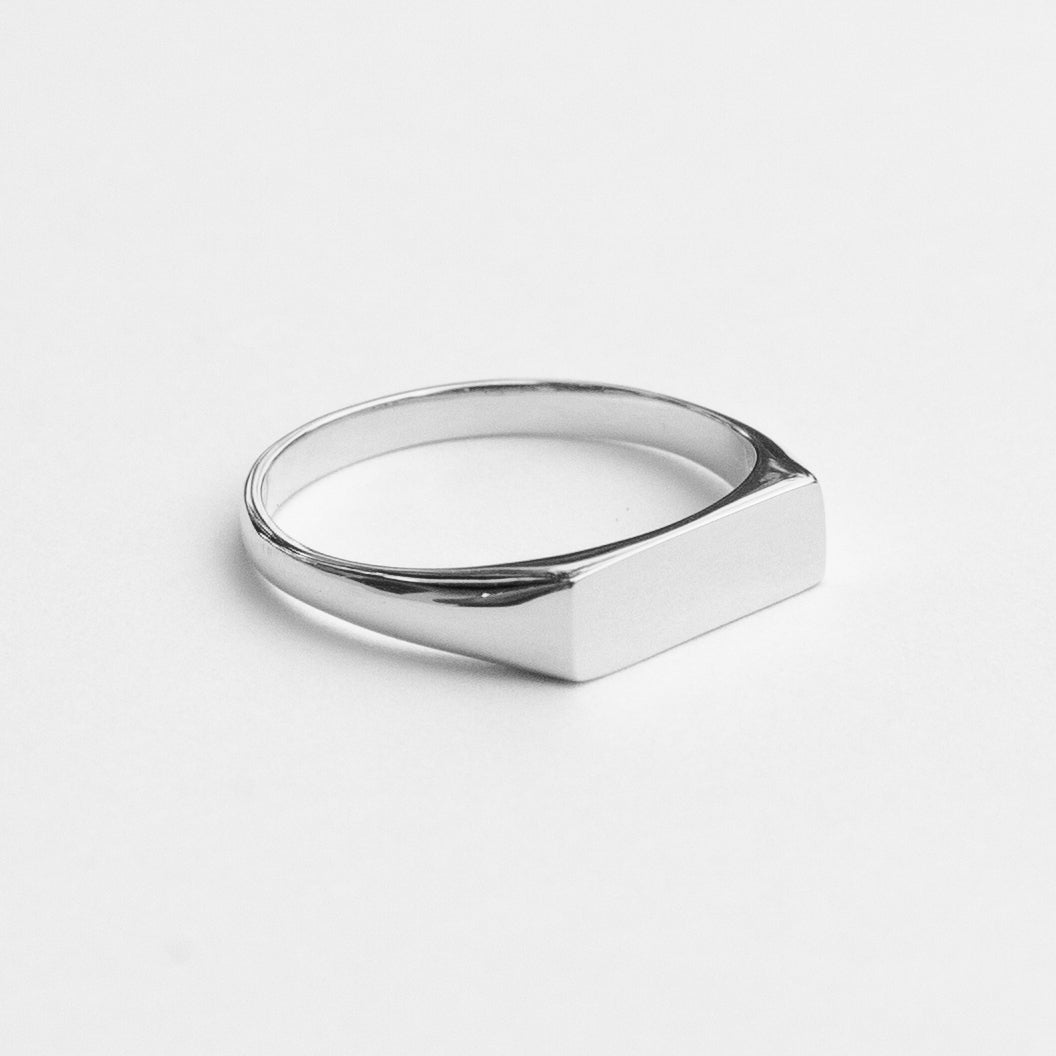
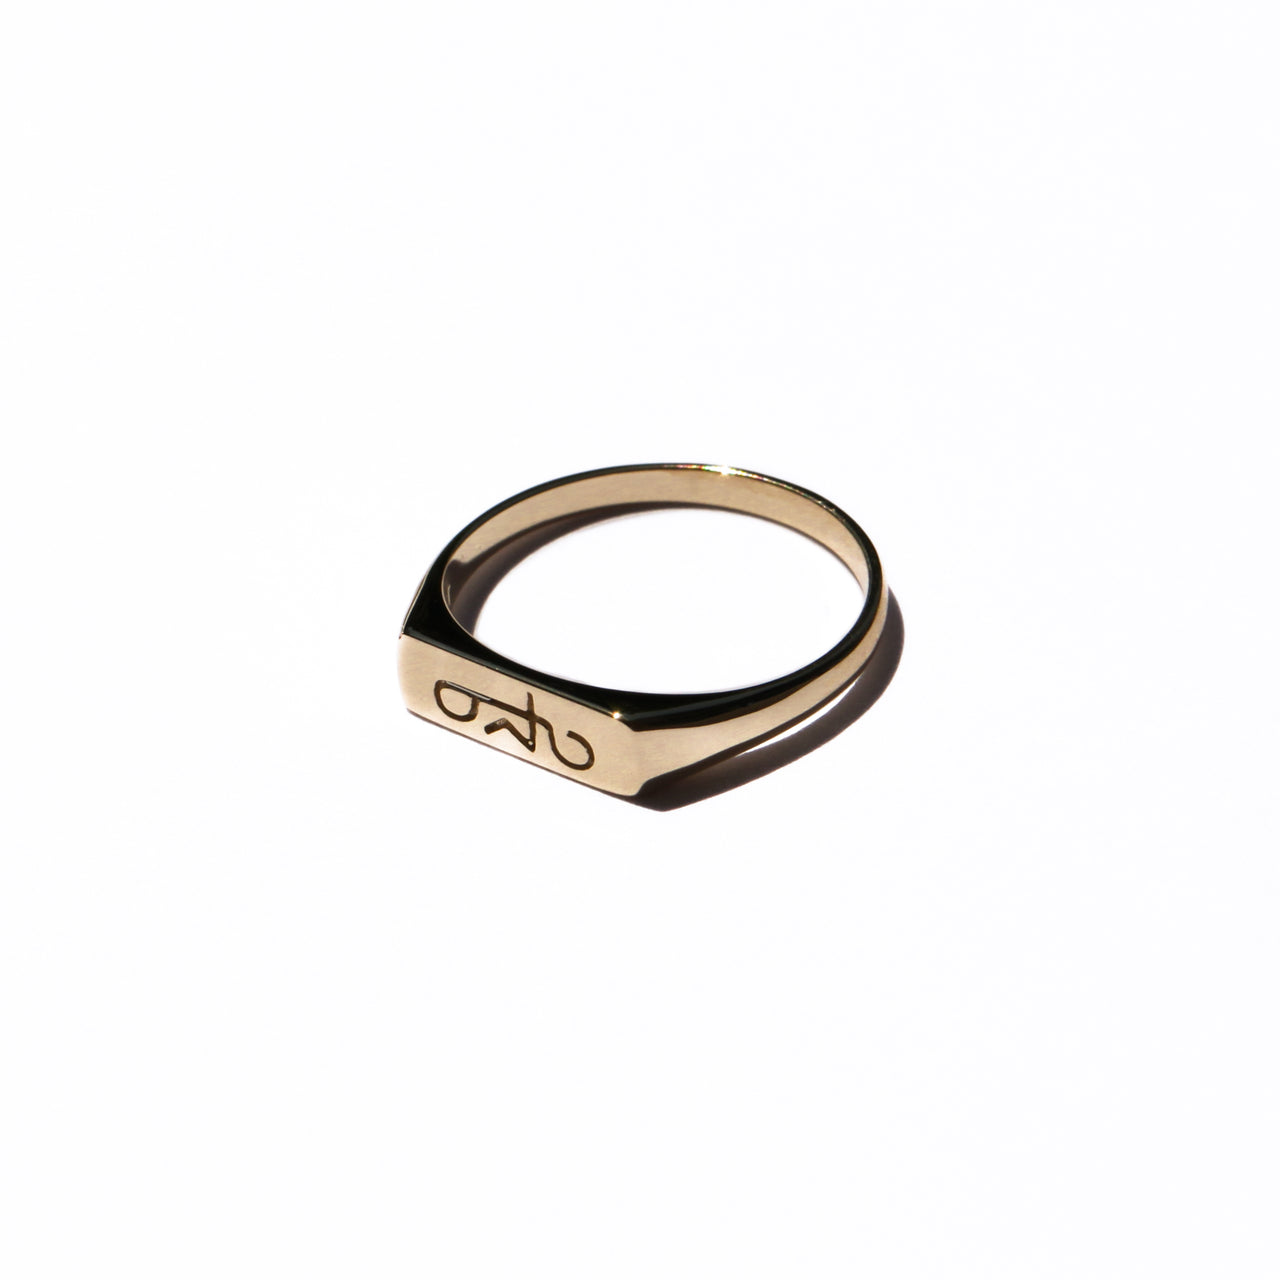
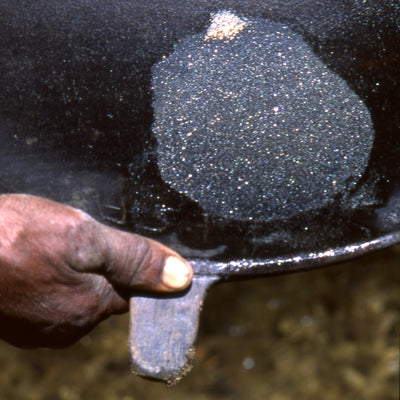
Step 5: Cast
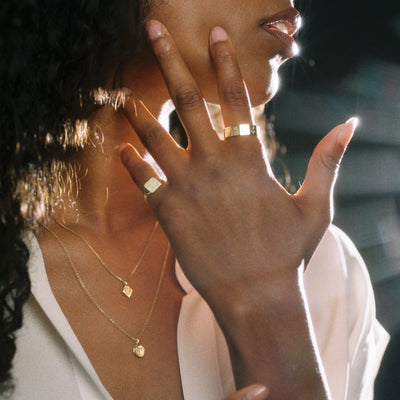
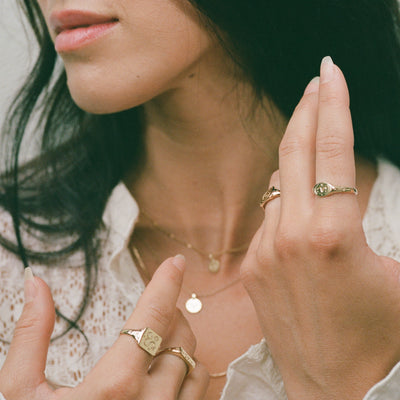
The final design is cast into 14k gold to be test worn for months and years at a time.
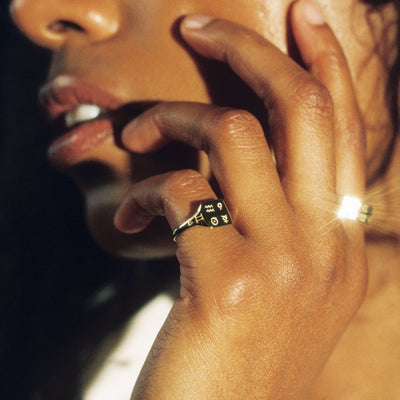
Imagining our unique engravings took even longer. After years of working with Sigils in our private practice, it clicked, and the seed of the Sigil Signet blossomed.
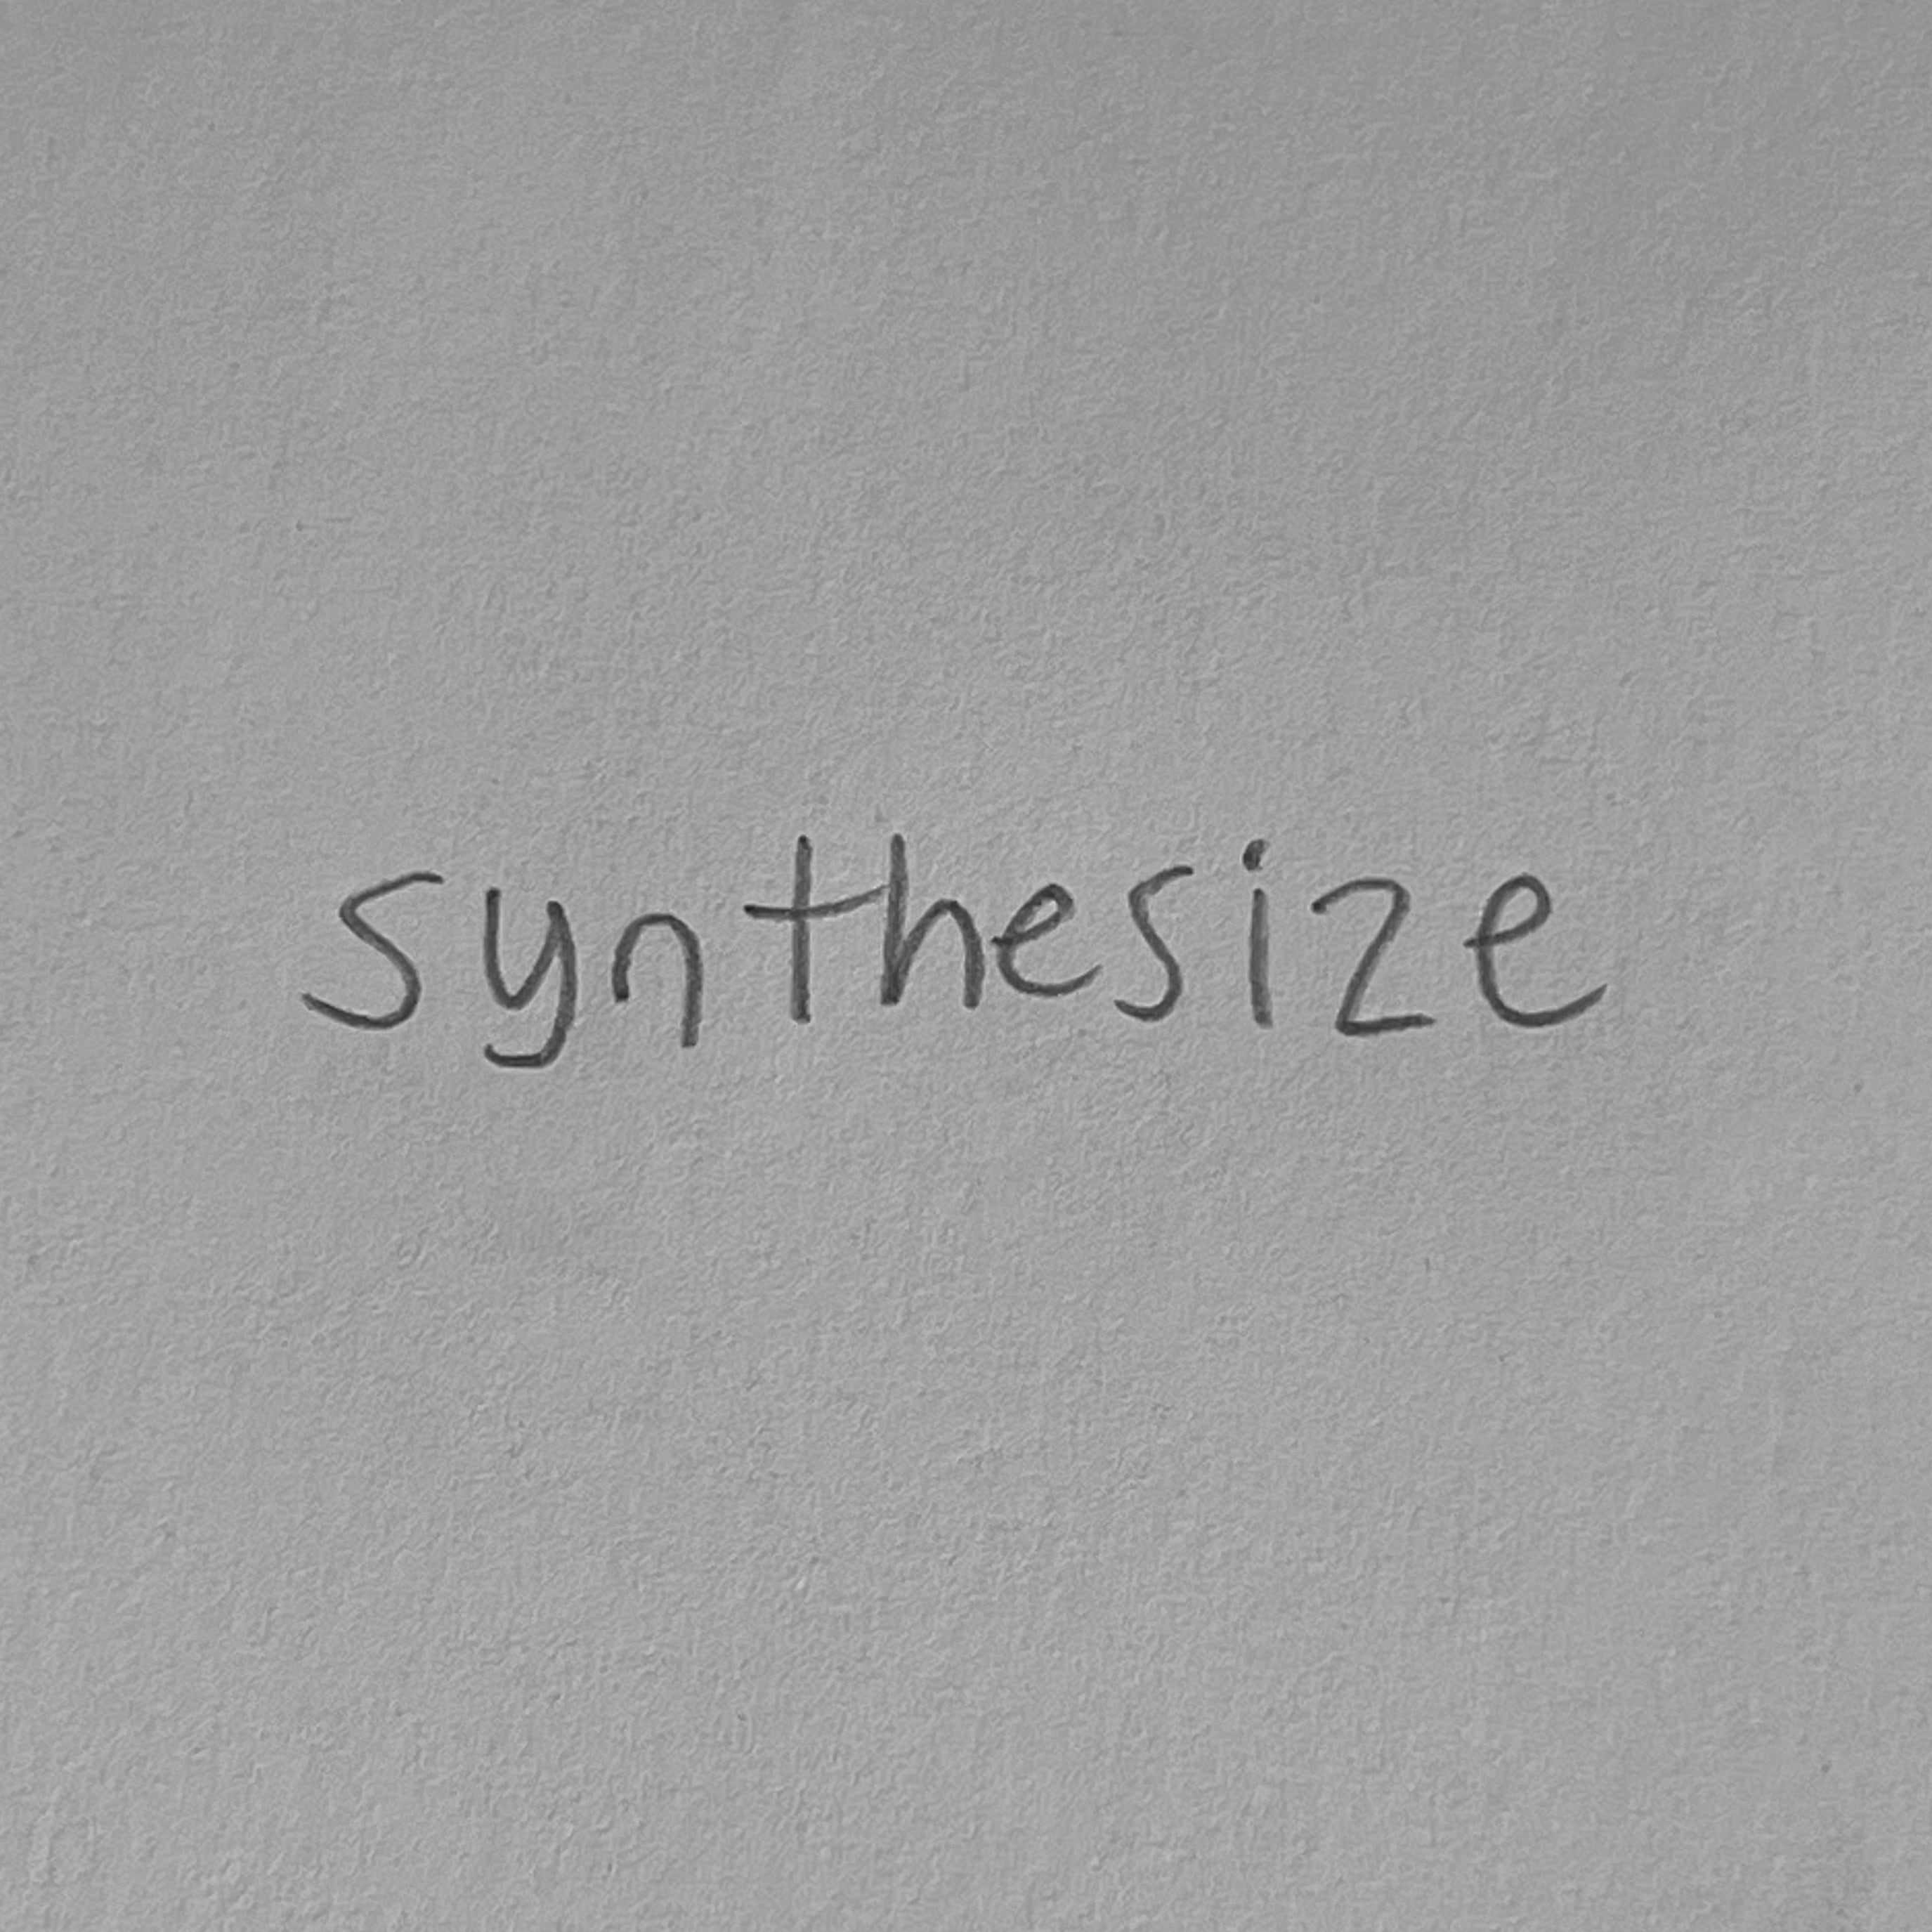
Step 6: Create Intention
In stillness, feel into the intention that wants to be expressed in this sigil. Write out the intention with a pencil.
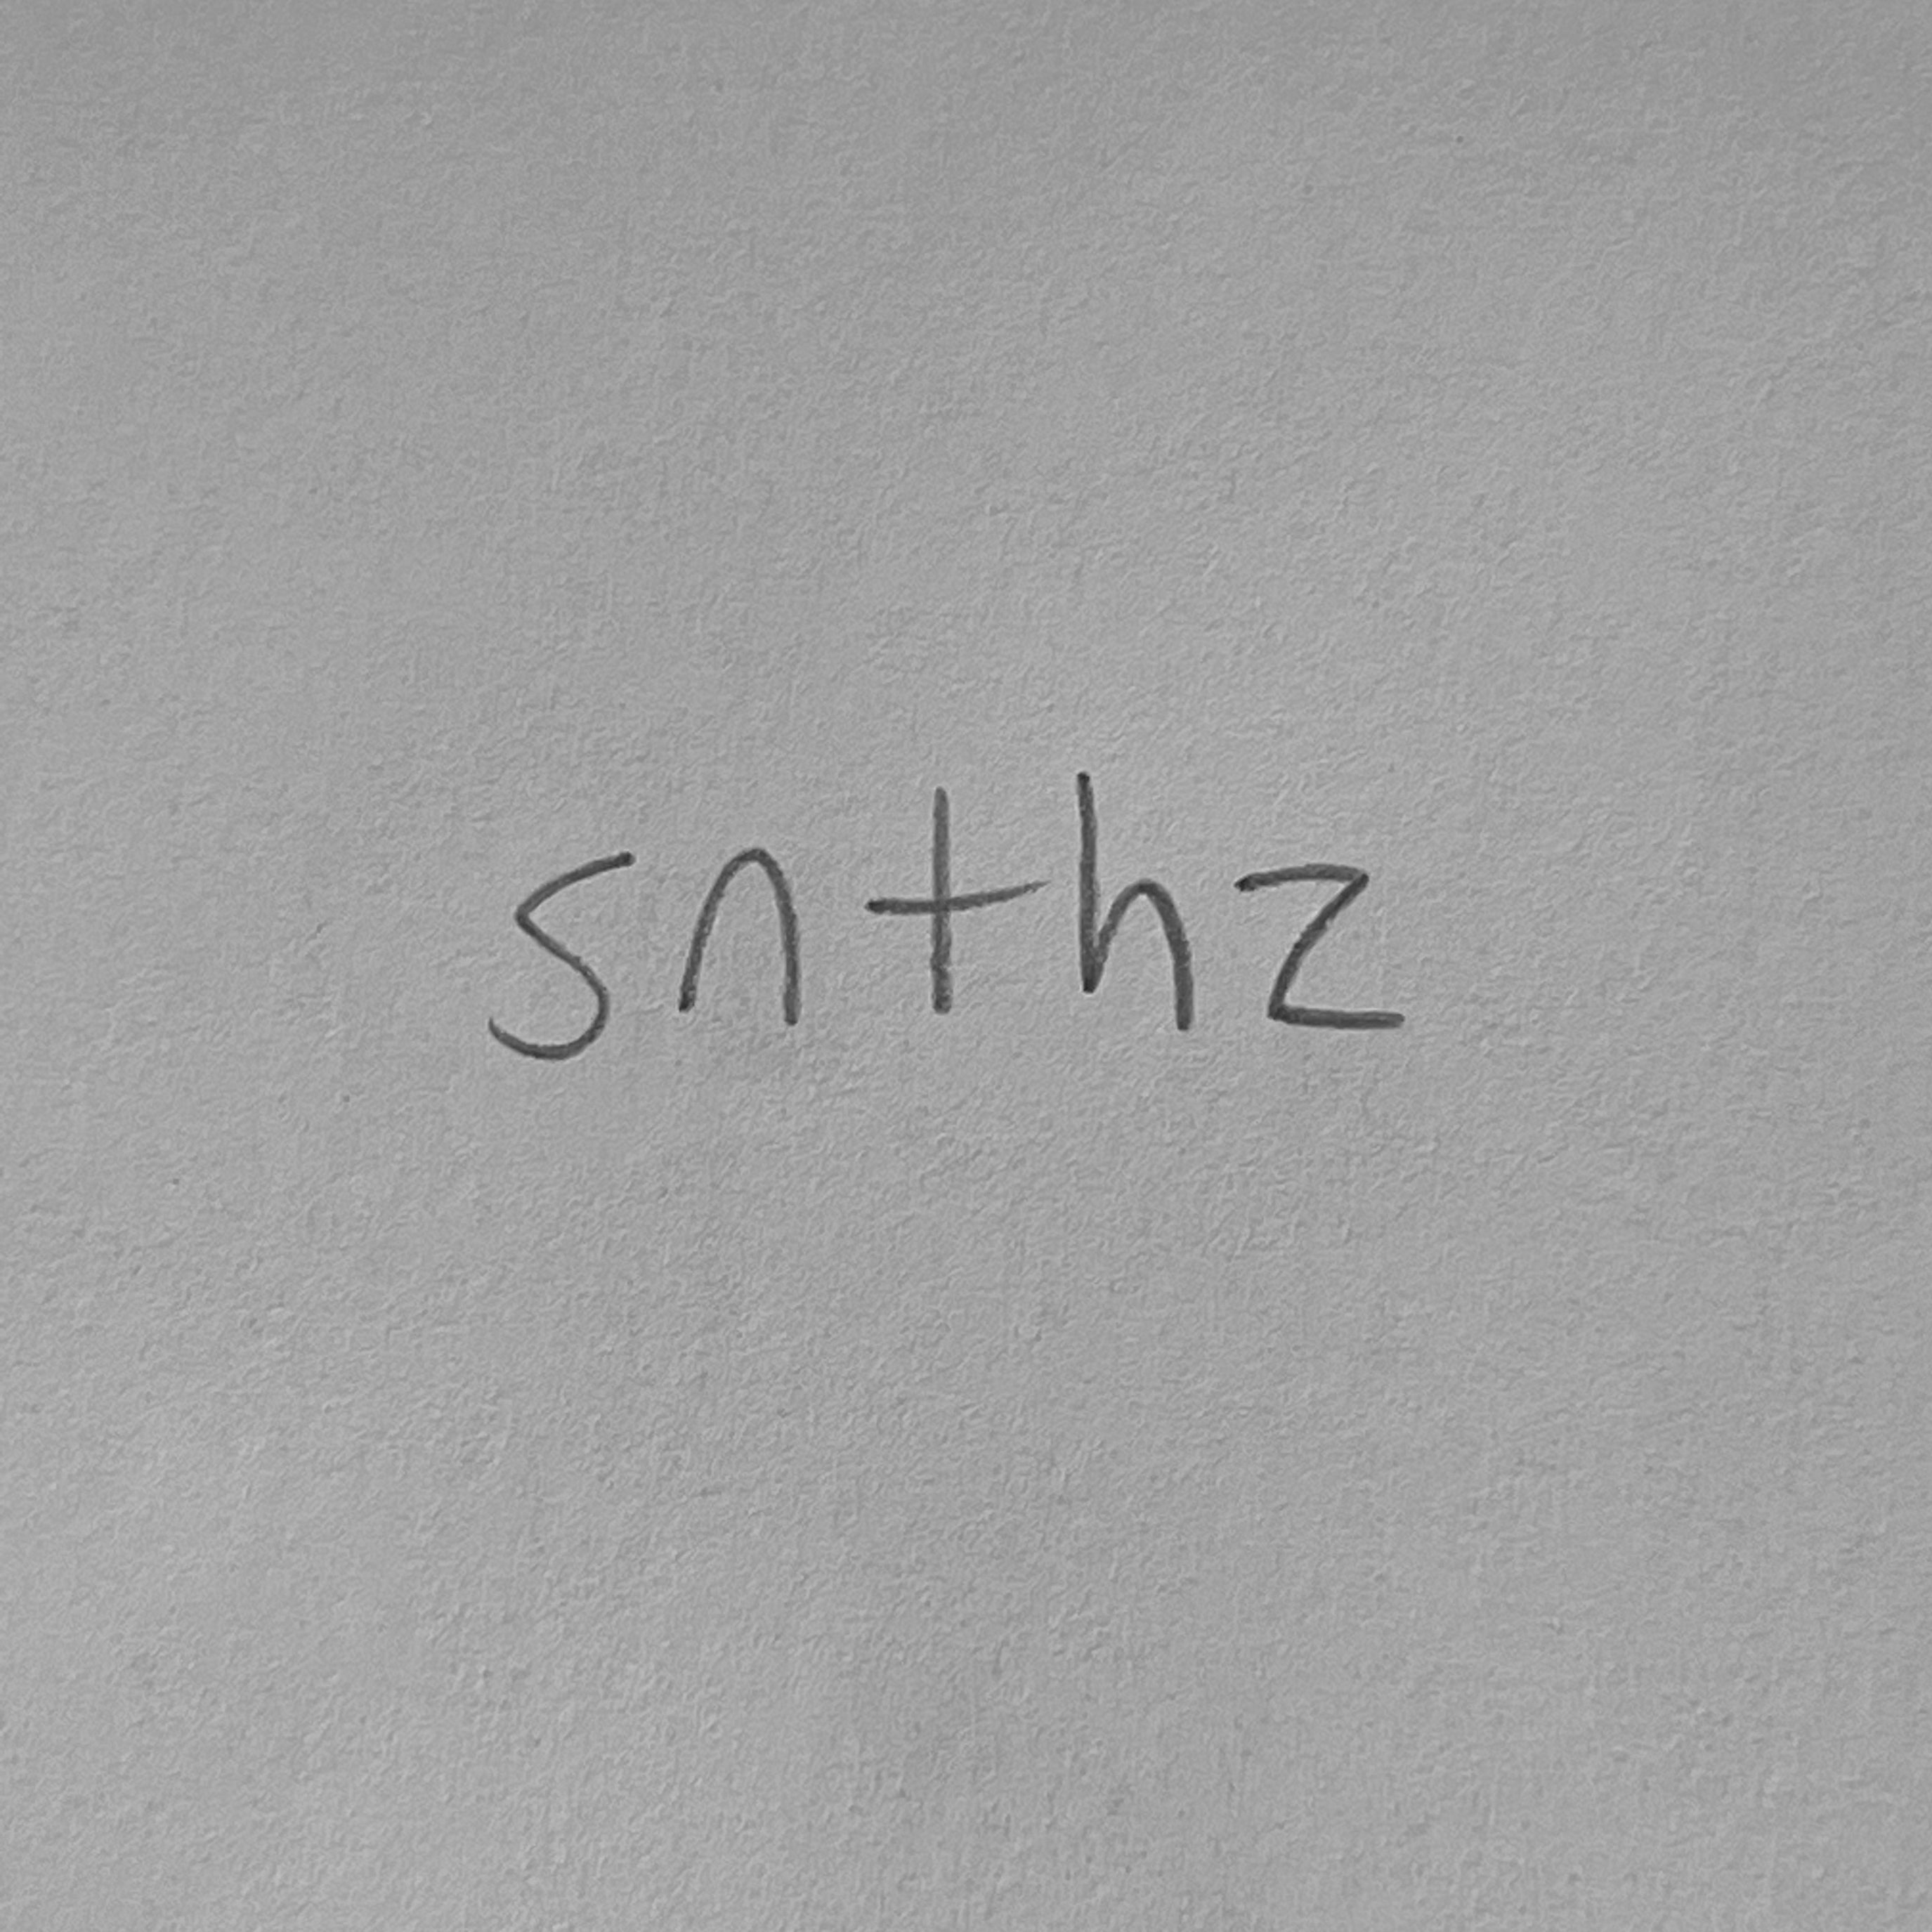
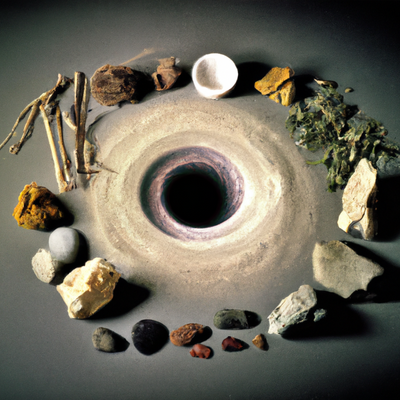
Step 7: Gather Key Consonants
Cross out all vowels and repeat consonants to reveal the single consonants of the word. These are the design elements of the sigil.
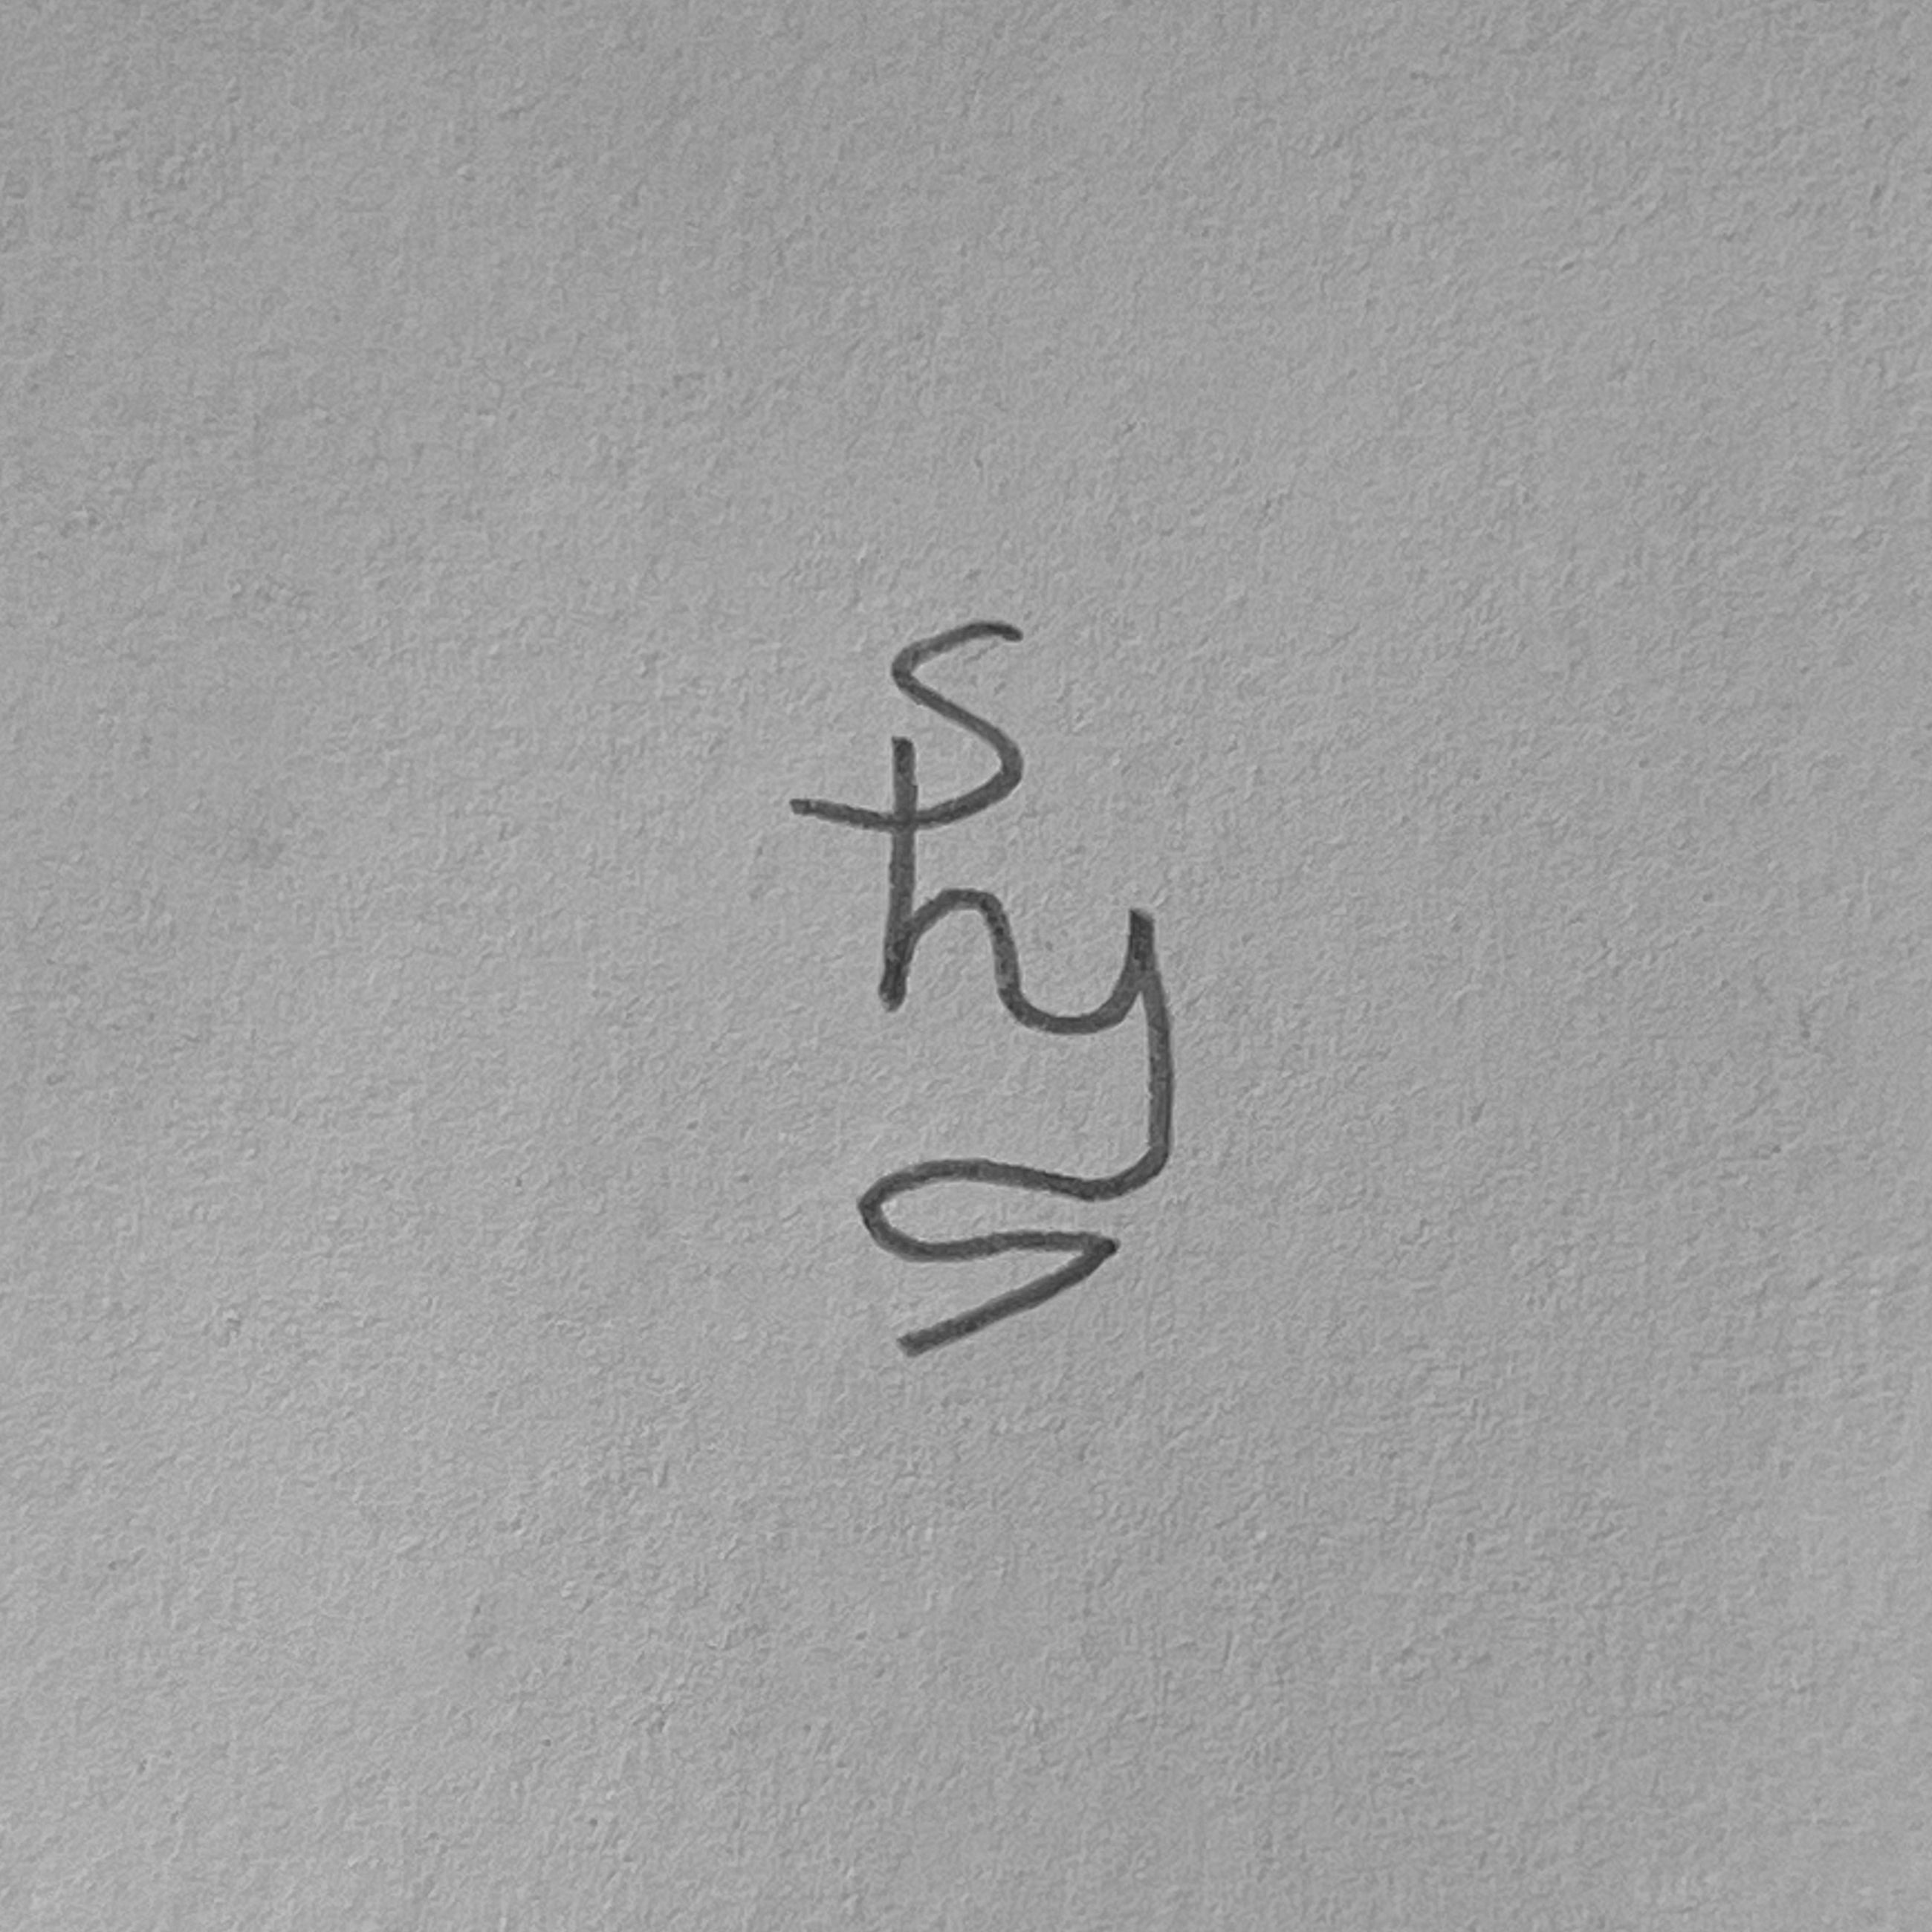
Step 8: Intuitively Design
Here's where the magic happens. Intuitively visualize a symbol using the key consonants. This part flows naturally and is iterative until the final symbol feels good.
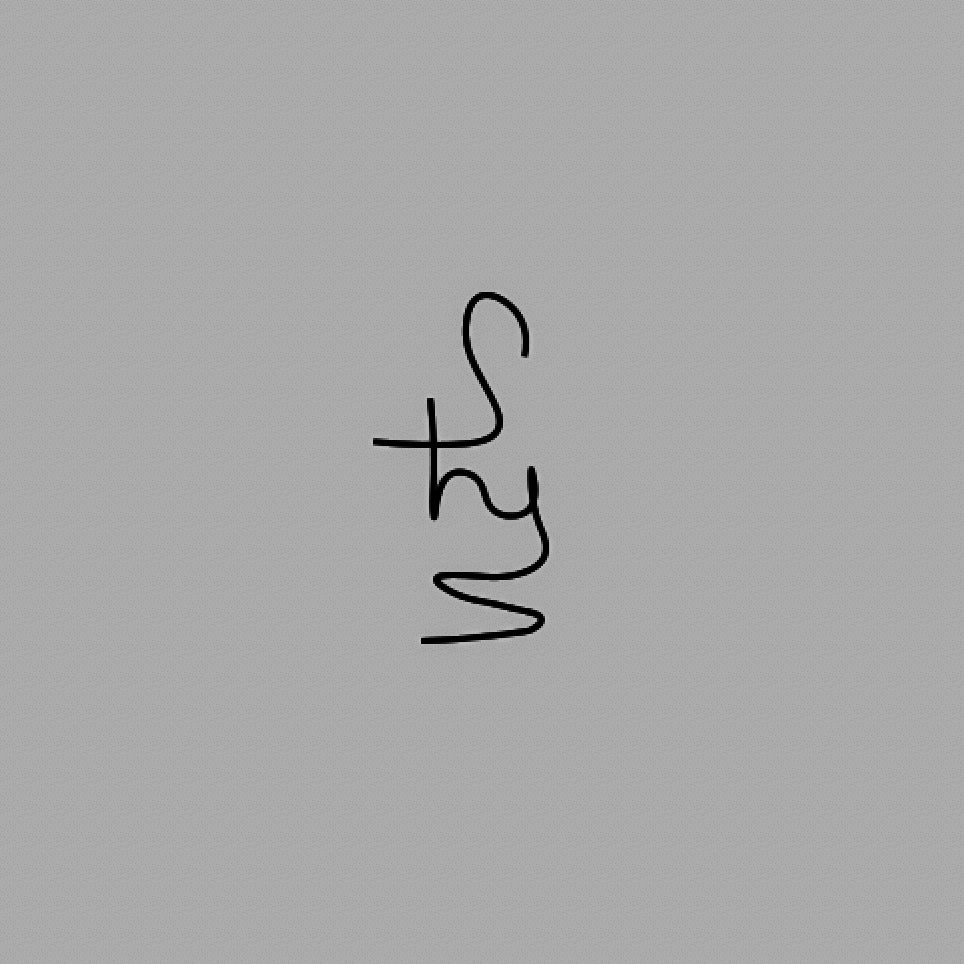
Step 9: Digitize & Tweak
Trace a photo of the hand-drawn sigil in Photoshop to create a vector of the sigil design. Tweak the curves until it flows.
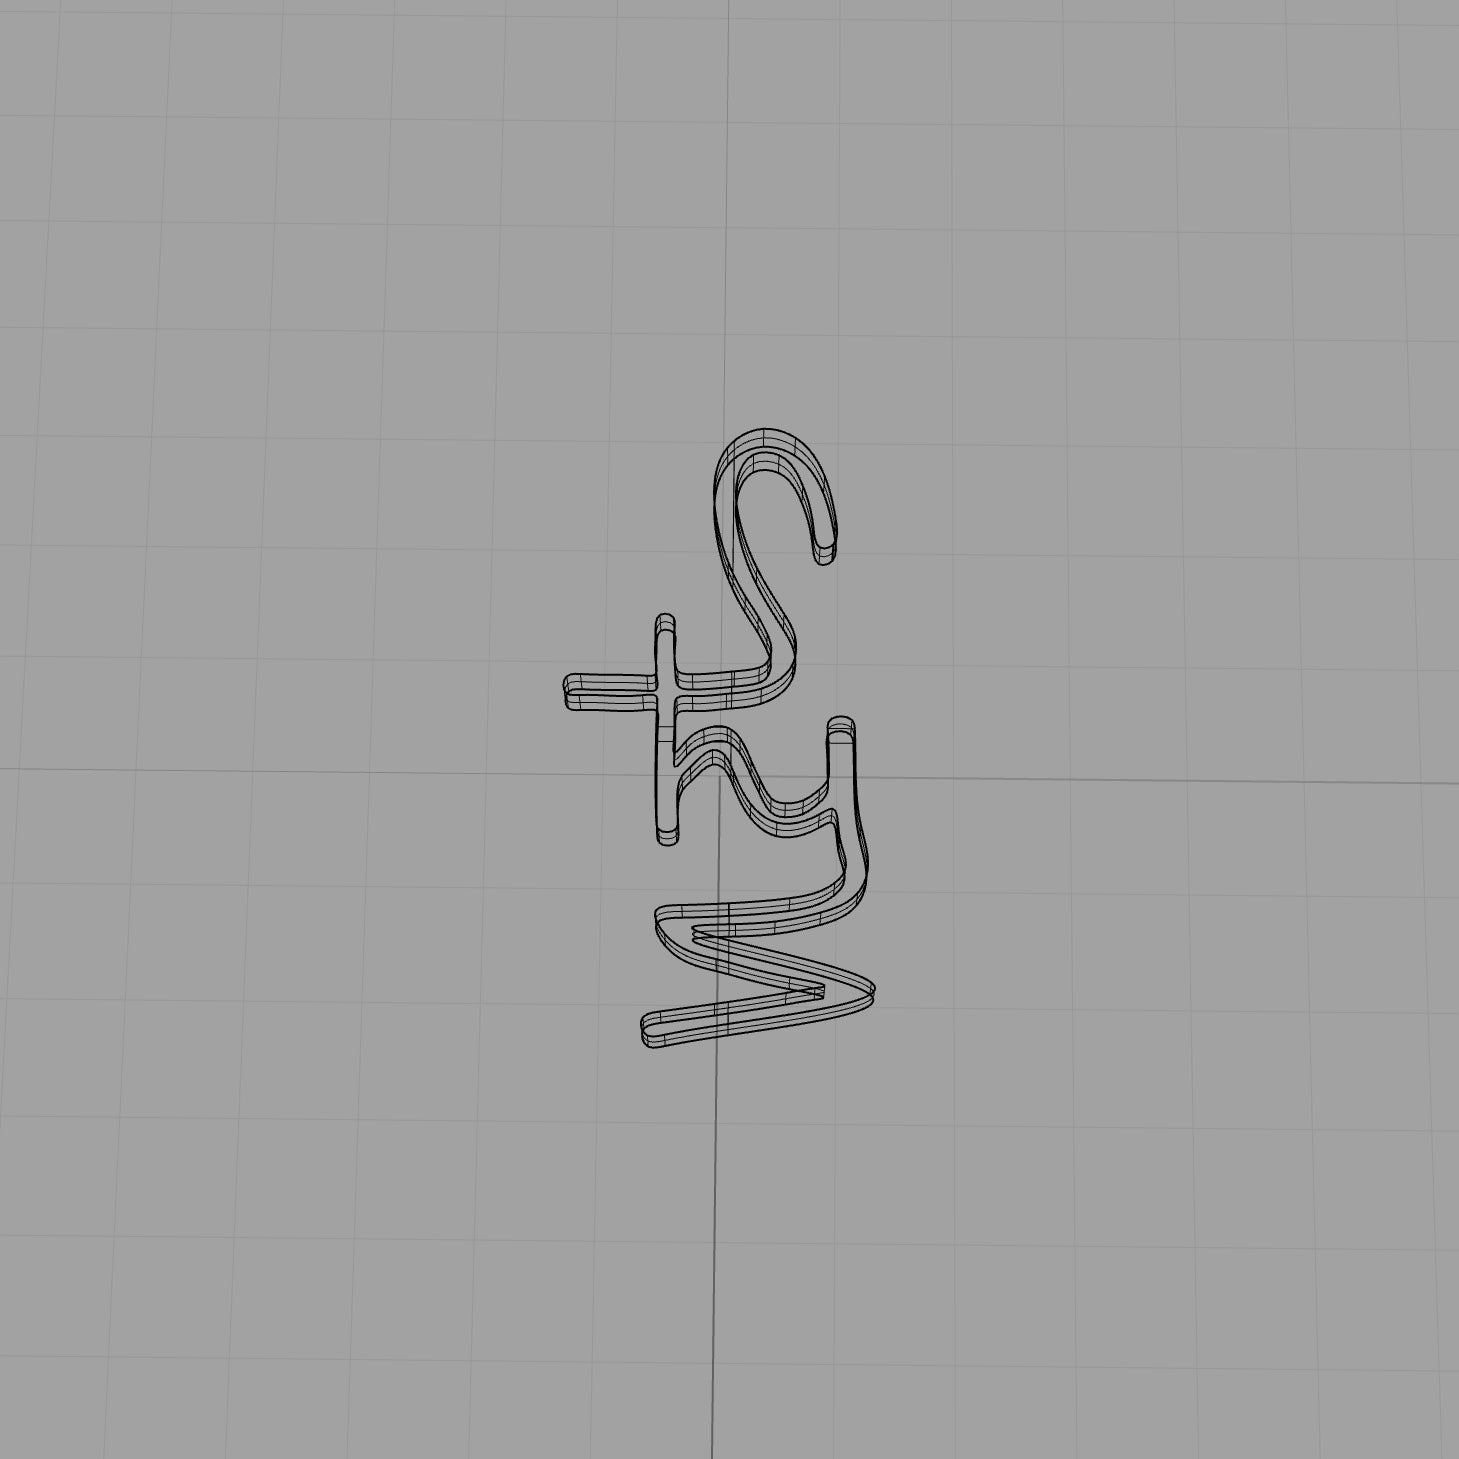
Step 10: Create a Solid
Trace the outline of the digitized sigil again, this time in Rhino. Once the perimeter curves are created, extrude the surface to create a 3D object.

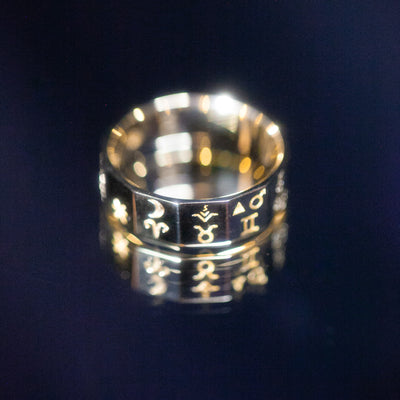
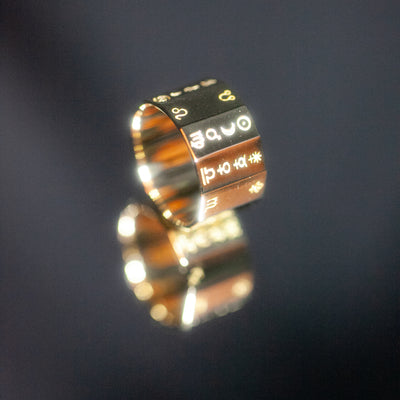
Step 11: Digitally Engrave
Place the solid object of the sigil into the ring model. Remove the volume of the sigil to create a digital engraving that will be present in the 3D printed wax model.
After finalizing your design, we send the 3D file to a small casting house in Los Angeles where they print and cast your specific Sigil Signet.
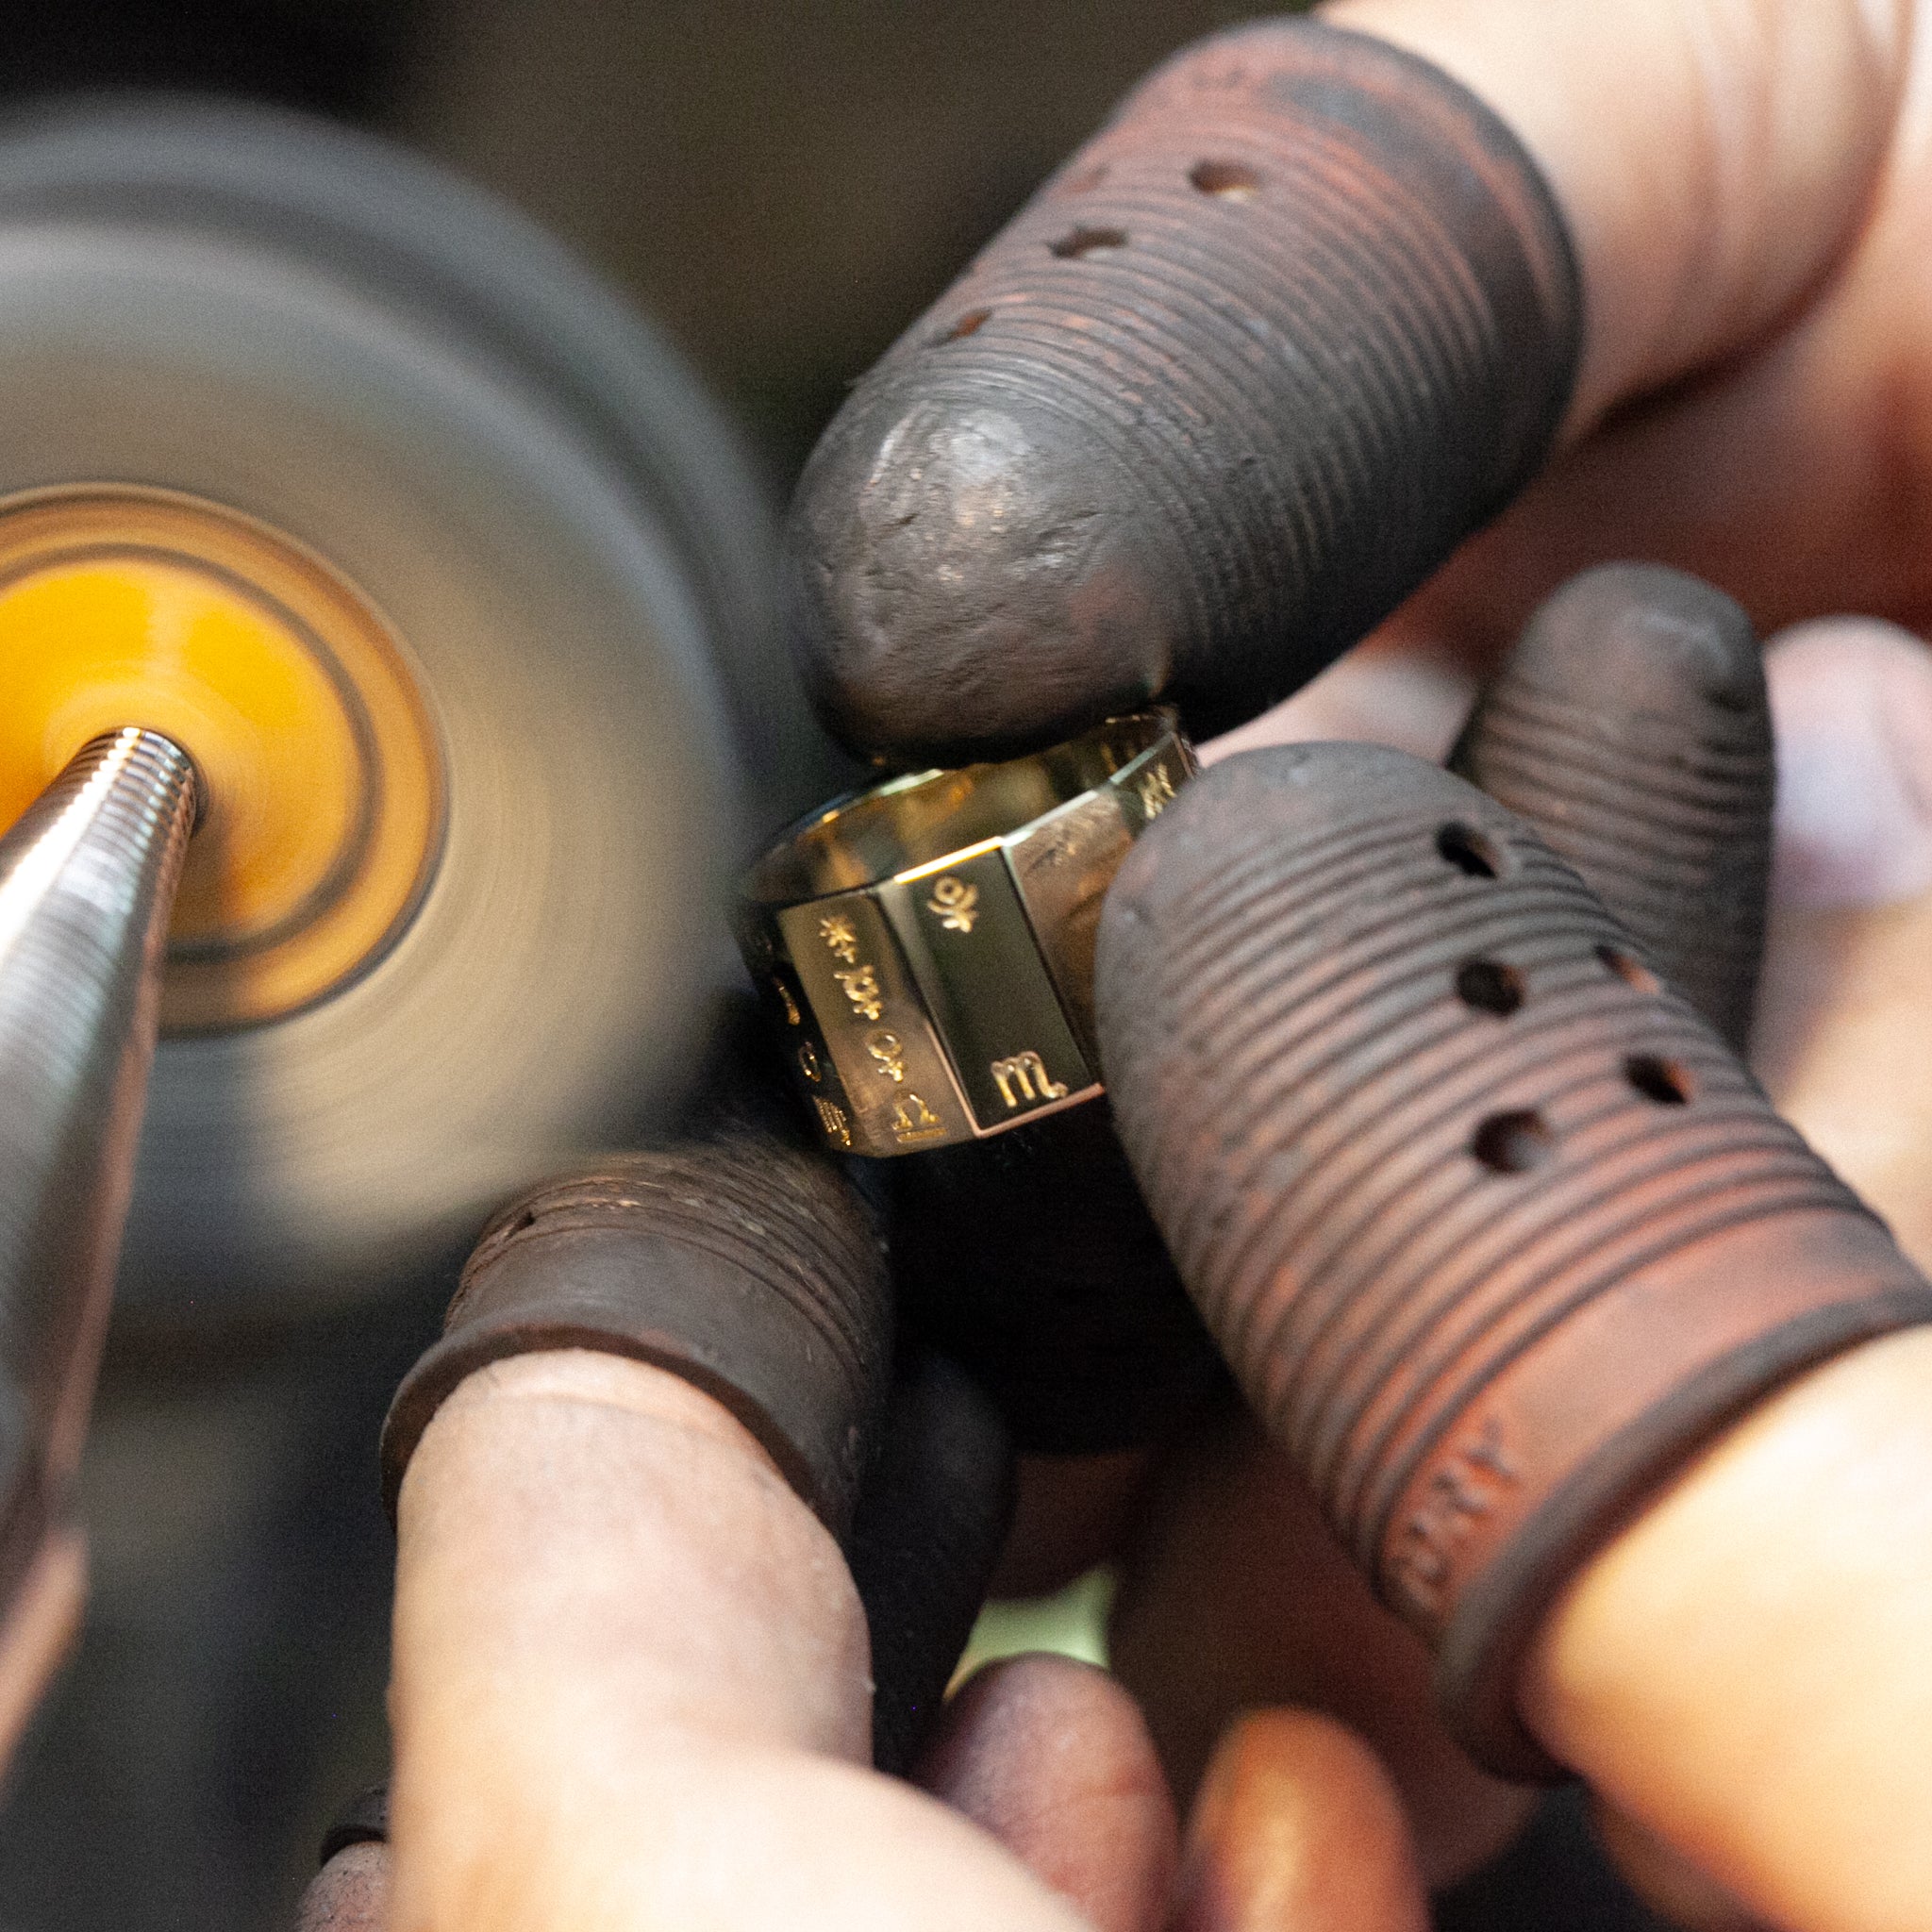
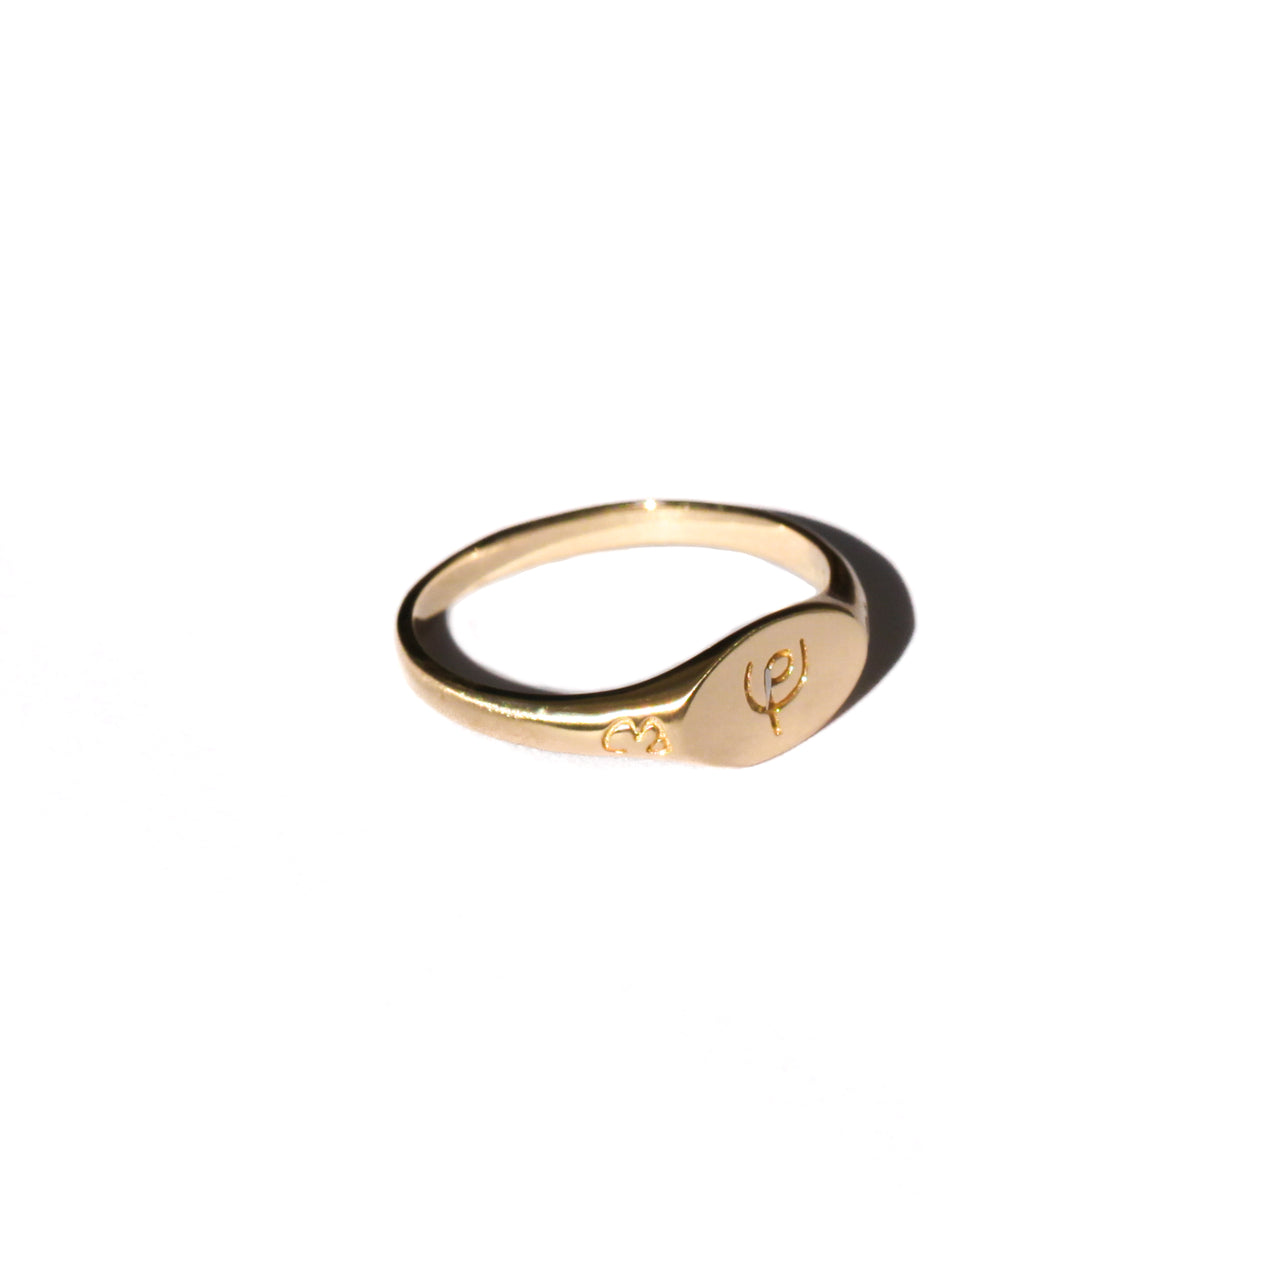
Step 12: Cast Specifically for You
While many designers choose to make repeatable molds for their rings and laser engrave designs into them, we choose to print the engraving into the wax and make individual molds for each ring. This gives the engraving a bit more of an organic feel in lieu of the too-perfect laser.
Symbolically, we choose this method because we want each ring to be individually printed, molded, and cast specifically for you.
Featured collection